Creating a Stunning Portfolio Website with HTML and CSS

In today’s digital age, having a captivating online portfolio website is essential for showcasing your skills, experience, and projects to potential clients or employers. Whether you’re a designer, developer, writer, or any other creative professional, a well-crafted portfolio website can make all the difference in standing out from the crowd. In this tutorial, I’ll walk you through the process of creating your own portfolio website using HTML and CSS, and the best part is, it’s completely free!
Check Out Those Useful Articles
Creating a Stunning Portfolio Website Using HTML and CSS (Source Code)
Before diving into coding, take some time to plan out the design and structure of your portfolio website. Consider factors such as color scheme, layout, navigation, and the content you want to showcase. Sketching out your ideas on paper or using digital tools can be helpful in visualizing the final outcome.
Below are the steps to get started:
- Create an HTML file named “index.html” and ensure it carries the .html extension.
- Insert the provided HTML code into your “index.html” file. This code snippet lays the groundwork for the Multiple Text Typing Animation.
- Create a CSS file Named “style.css” file.
- Insert the provided CSS code into your “style.css” file.
- For ease of access, you can download the source code files for this animation by clicking the download button below.
These steps will establish the necessary structure for Portfolio website.
First, Copy the bellow HTML code and paste the codes into your index.html file.
					<!DOCTYPE html>
<html lang="en">
<head>
    <meta charset="UTF-8">
    <meta name="viewport" content="width=device-width, initial-scale=1.0">
    <title>Portfolio Web Site By AbdulDev</title>
    <!-- Custom CSS Link -->
    <link rel="stylesheet" href="style.css">
    <!-- Font Awesome Icon link -->
    <link rel="stylesheet" href="https://cdnjs.cloudflare.com/ajax/libs/font-awesome/4.7.0/css/font-awesome.min.css">
    <!-- Social Icon Link -->
    <link href='https://unpkg.com/boxicons@2.1.4/css/boxicons.min.css' rel='stylesheet'>
</head>
<body>
    <header class="header-sec">
        <nav>
            <input type="checkbox" id="check">
            <label for="check" class="checkbtn">
                <i class="fa fa-bars"></i>
            </label>
            <label class="logo">Abdul<span>Dev</span></label>
            <ul>
                <li><a class="active" href="#">Home</a></li>
                <li><a href="#">About</a></li>
                <li><a href="#">Services</a></li>
                <li><a href="#">Blog</a></li>
                <li><a href="#">Contact</a></li>
            </ul>
        </nav>
    </header>
    <section class="hero">
        <div class="hero-content">
            <h1>I am Abdul Mabud</h1>
            <h2>Web Designer</h2>
            <p>Lorem ipsum dolor sit amet consectetur adipisicing elit. Voluptate autem nemo facilis dolore a quo? Ducimus dolore architecto blanditiis, nesciunt sit in eaque optio commodi corrupti?</p>
            <div class="btn-box">
                <a href="#">Hire Me</a>
                <a href="#">Let's Talk</a>
            </div>
        </div>
        <div class="social-icon">
            <a href="#"><i class='bx bxl-facebook'></i></a>
            <a href=""><i class='bx bxl-twitter' ></i></a>
            <a href=""><i class='bx bxl-linkedin' ></i></a>
        </div>
    </section>
</body>
</html>
Second, Copy the bellow CSS code and paste the codes into your style.css file.
					@import url('https://fonts.googleapis.com/css2?family=Poppins:wght@400;500;600;700&display=swap');

* {
    margin: 0;
    padding: 0;
    box-sizing: border-box;
    font-family: "Poppins", sans-serif;
}
.header-sec{
    position: fixed;
    top: 0;
    left: 0;
    width: 100%;
    padding: 20px 80px;
    background-color: transparent;
    display: flex;
    justify-content: space-between;
    align-items: center;
    overflow-x: hidden;
    z-index: 100;
}
nav{
    background: transparent;
    height: 90px;
    width: 100%;
  }
  label.logo{
    color: white;
    font-size: 35px;
    line-height: 86px;
    font-weight: bold;

  }
  .logo span{
    color: #ff0077;
  }
  nav ul{
    float: right;
  }
  nav ul li{
    display: inline-block;
    line-height: 80px;
    margin: 5px;
  }
  nav ul li a{
    text-decoration: none;
    list-style: none;
    color: white;
    font-size: 17px;
    padding: 7px 13px;
    border-radius: 3px;
    text-transform: uppercase;
  }
  a.active,a:hover{
    background: #ff0077;
    transition: .5s;
  }
  .checkbtn{
    font-size: 30px;
    color: #ff0077;
    float: right;
    line-height: 80px;
    margin-right: 40px;
    cursor: pointer;
    display: none;
  }
  #check{
    display: none;
  }
  @media screen and (max-width: 952px){
    .header-sec{
        padding: 0 40px;
    }
    label.logo{
      font-size: 26px;
    }
    nav ul li a{
      font-size: 20px;
    }
  }
  @media screen and (max-width: 858px) {
    .checkbtn{
      display: block;
      font-size: 26px;
      margin-top: 5px;
    }
    ul{
      position: fixed;
      width: 100%;
      height: 100vh;
      background: #2b2b2b;
      top: 80px;
      left: -100%;
      text-align: center;
      transition: all .5s;
    }
    nav ul li{
      display: block;
      margin: 50px 0;
      line-height: 10px;
    }
    nav ul li a{
      font-size: 20px;
    }
    a:hover,a.active{
      background: none;
      color: #df003b;
    }
    #check:checked ~ ul{
      left:0;
    }
  }
  .hero{
    background-color: #0000004c;
    background-image: url(Image/bgimage.png);
    background-position: center;
    background-repeat: no-repeat;
    background-size: cover;
    background-blend-mode: color;
    height: 100vh;
    display: flex;
    align-items: center;
    padding: 0 80px;
  }
  .hero-content{
    width: 600px;
  }
  .hero-content h1{
    color: #ebebeb;
    font-size: 50px;
    font-weight: 700;
    line-height: 60px;
    padding-top: 80px;
  }
  .hero-content h2{
    color: #ff0077;
    font-size: 34px;
    font-weight: 600;
  }
  .hero-content p{
    font-size: 16px;
    color: #ebebeb;
    line-height: 26px;
    margin: 20px 0 40px;
  }
  .btn-box{
    display: flex;
    justify-content: space-between;
    width: 350px;
    height: 50px;
  }
  .btn-box a{
    position: relative;
    display: inline-flex;
    justify-content: center;
    align-items: center;
    width: 150px;
    height: 100%;
    background: #ff0077;
    border: 2px solid #ff0077;
    border-radius: 8px;
    font-size: 18px;
    color: #ebebeb;
    text-decoration: none;
    letter-spacing: 1px;
    font-weight: 600;
    z-index: 1;
    overflow: hidden;
    transition: 0.5s;
  }
  .btn-box a:hover{
    color: #fff;
  }
  .btn-box a:nth-child(2){
    background: transparent;
    color: #ff0077;
  }
  .btn-box a:nth-child(2):hover{
    color: #ebebeb;
  }
  .btn-box a:nth-child(2)::before{
    background: #ff0077;
  }
  .btn-box a::before{
    content: '';
    position: absolute;
    top: 0;
    right: 0;
    width: 0;
    height: 100%;
    background: #000;
    z-index: -1;
    border-radius: 8px;
    transition: 0.5s;
  }
  .btn-box a:hover::before{
    width: 100%;
  }
  .social-icon{
    position: absolute;
    bottom: 40px;
    width: 170px;
    display: flex;
    justify-content: space-between;
}
.social-icon a{
    position: relative;
    display: inline-flex;
    align-items: center;
    justify-content: center;
    color: #ff0077;
    font-size: 20px;
    width: 40px;
    height: 40px;
    background: transparent;
    border: 2px solid #ff0077;
    text-decoration: none;
    border-radius: 50%;
    z-index: 1;
    overflow: hidden;
    transition: 0.5s;
}
.social-icon a:hover{
    color: #ebebeb;
}
.social-icon a::before{
    content: '';
    position: absolute;
    top: 0;
    right: 0;
    width: 0;
    height: 100%;
    background-color: #ff0077;
    z-index: -1;
    transition: 0.5s;
}
.social-icon a:hover:before{
width:100%;
}
/* Responsive Code */
@media  screen and (max-width: 952px) {
  .hero{
    padding: 0 40px;
  }
  .hero h1{
    padding: 60px 0 0 0;
  }
}
Conclusion
Creating your own portfolio website using HTML and CSS is not only a rewarding learning experience but also a powerful way to showcase your skills and projects to the world. Throughout this tutorial, I’ve covered everything you need to know, from planning your design to coding and styling your website.
By following the steps outlined in this tutorial and utilizing the free source code provided, you can create a stunning portfolio website that reflects your unique personality and showcases your talents effectively. Remember to experiment with different design elements, incorporate your own creativity, and tailor the website to suit your needs and preferences.
Whether you’re a designer, developer, writer, or any other creative professional, having a well-crafted portfolio website is essential for building your online presence and attracting potential clients or employers. So don’t hesitate – dive in, start coding, and unleash your creativity on the web!
FAQs
A portfolio website is an online platform where individuals showcase their work, skills, projects, and achievements to potential clients or employers. It serves as a digital resume or portfolio.
While coding experience is helpful, it’s not mandatory. This tutorial provides a beginner-friendly guide to creating a portfolio website using HTML and CSS, with step-by-step instructions.
Yes, you can use pre-made templates, but creating your own portfolio website from scratch allows for greater customization and personalization to better reflect your style and personality.
The design of your portfolio website is crucial as it creates the first impression on visitors. A visually appealing and well-organized design can significantly enhance the user experience and make your work stand out.
Yes, including a contact form allows potential clients or employers to reach out to you easily. It’s a convenient way for them to inquire about your services or discuss potential collaborations.
Share on Social Media
Related Articles
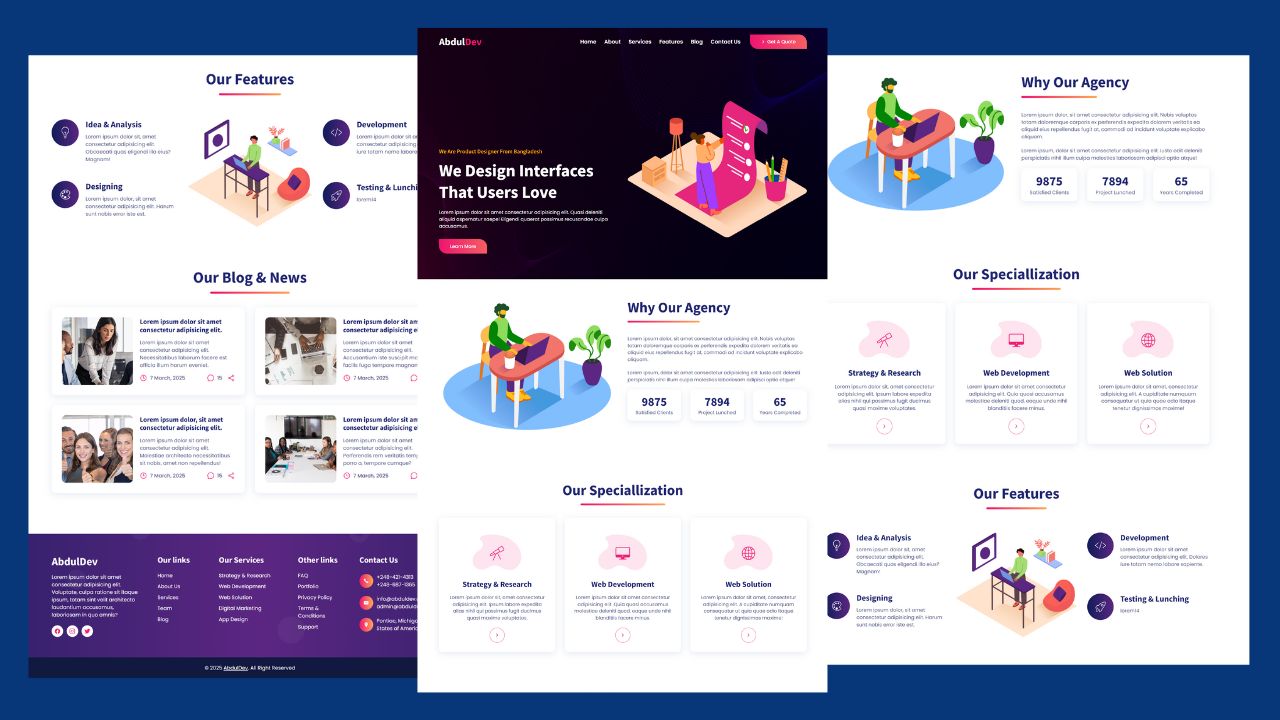
How to Design Agency Website Using HTML, CSS, and JavaScript
Learn how to build a stunning, responsive design agency website using HTML, CSS, and JavaScript. This beginner-friendly guide covers planning,

How to Design a Website with Background Image Slider
Learn how to create a stunning, responsive background image slider for your website using HTML, CSS, and JavaScript. Follow our

Responsive Website Homepage Design Using HTML and CSS
Learn how to create a responsive website homepage using HTML and CSS. This step-by-step guide covers mobile-friendly layouts, styling tips,

