Create a Responsive Website Homepage Design Using HTML and CSS

Creating a responsive website homepage is essential for delivering a seamless experience across devices. This article will guide you through building a stylish and adaptable homepage using HTML and CSS. With mobile-first design principles, we’ll cover each key step to ensure your homepage looks amazing, whether viewed on a desktop, tablet, or mobile device.
Why Responsive Design Matters
Responsive web design ensures your website is user-friendly on all screen sizes, adapting elements such as navigation, images, and layouts. Search engines like Google prioritize mobile-friendly sites, so a responsive homepage also helps improve your site’s SEO and search engine rankings.
Check Out Those Useful Articles
Steps to Create a Responsive Dropdown Navigation Menu
To Create a Responsive Website Homepage Design follow these steps:
- Create a Folder: Name this folder according to your preference. Inside this folder, you’ll need to set up the following files:
- Create an index.html File: This file should be named index with the .html extension.
- Create a style.css File: This file should be named style with the .css extension.
These files will form the basis of your Responsive Website Homepage Design.
Setting Up the HTML Structure
Let’s start by creating the HTML structure for the homepage. Open your code editor and set up a new HTML file.
					<!DOCTYPE html>
<html lang="en">
  <head>
    <meta charset="UTF-8" />
    <meta name="viewport" content="width=device-width, initial-scale=1.0" />
    <title>Responsive Website Homepage Design by AbdulDev</title>
    <link rel="stylesheet" href="style.css" />
  </head>
  <body>
    <header class="header">
      <nav class="navbar">
        <h2 class="logo"><a href="#">Abdul<span>Dev</span></a></h2>
        <input type="checkbox" id="menu-toggle" />
        <label for="menu-toggle" id="hamburger-btn">
          <svg xmlns="http://www.w3.org/2000/svg" height="24" viewBox="0 0 24 24" width="24">
            <path d="M3 12h18M3 6h18M3 18h18" stroke="currentColor" stroke-width="2" stroke-linecap="round"/>
          </svg>
        </label>
        <ul class="links">
          <li><a href="#">Home</a></li>
          <li><a href="#">About Us</a></li>
          <li><a href="#">Services</a></li>
          <li><a href="#">Portfolio</a></li>
          <li><a href="#">Contact Us</a></li>
        </ul>
        <div class="button">
          <a href="#" class="login">Login</a>
        </div>
      </nav>
    </header>
    <section class="hero-section">
      <div class="hero">
        <h2>Web & Mobile App Development</h2>
        <p>
          Our Web and Mobile App Development services are designed to bring your vision to life, creating innovative, user-centered applications tailored to meet your unique business needs.
        </p>
        <div class="buttons">
          <a href="#" class="join">Join Now</a>
          <a href="#" class="learn">Learn More</a>
        </div>
      </div>
      <div class="img">
        <img decoding="async" src="Images/hero-bg1.png" alt="hero image" />
      </div>
    </section>
  </body>
</html>
Styling with CSS for a Responsive Layout
Next, we’ll add styles to make the design responsive. Create a styles.css file and link it to the HTML file. The following CSS will provide a mobile-first layout that adjusts to various screen sizes.
					/* Importing Google font - Open Sans */
@import url("https://fonts.googleapis.com/css2?family=Open+Sans:wght@300;400;500;600;700&display=swap");

* {
  margin: 0;
  padding: 0;
  box-sizing: border-box;
  font-family: "Open Sans", sans-serif;
}

body {
  min-height: 100vh;
  width: 100%;
  background: linear-gradient(to bottom, #002254 23%, #330c43 95%);
}

.header {
  background: #002254;
  position: fixed;
  top: 0;
  left: 0;
  width: 100%;
}

.navbar {
  display: flex;
  align-items: center;
  justify-content: space-between;
  max-width: 1240px;
  margin: 0 auto;
  padding: 25px 15px;
}

.navbar .logo a {
  font-size: 40px;
  text-decoration: none;
  color: #fff;
}
.logo a span{
  color: #F24964;
}

.navbar .links {
  display: flex;
  align-items: center;
  list-style: none;
  gap: 35px;
}

.navbar .links a {
  font-size: 17px;
  font-weight: 500;
  text-decoration: none;
  color: #fff;
  padding: 10px 0;
  transition: 0.3s;
}

.navbar .links a:hover {
  color: #F24964;
}

.navbar .button a {
  text-decoration: none;
  color: #fff;
  font-size: 17px;
}

.navbar .button .login {
  font-size: 17px;
  font-weight: 500;
  border: 2px solid #fff;
  padding: 10px 30px;
  border-radius: 45px;
  text-align: center;
  transition: 0.5s;
}

.navbar .button .login:hover {
  background-color: #F24964;
  color: #fff;
  border: 2px solid #F24964;
}

.hero-section {
  display: flex;
  justify-content: space-evenly;
  align-items: center;
  height: 100vh;
  padding: 0 15px;
  max-width: 1240px;
  margin: 60px auto 0 auto;
}

.hero-section .hero {
  max-width: 61%;
  color: #fff;
}

.hero h2 {
  font-size: 40px;
  margin-bottom: 20px;
}

.hero p {
  width: 80%;
  font-size: 18px;
  margin-bottom: 20px;
  color: #ececec;
}

.hero-section .img img {
  width: 400px;
}

.hero-section .buttons {
  margin-top: 40px;
}

.hero-section .buttons a {
  text-decoration: none;
  color: #fff;
  padding: 12px 24px;
  border-radius: 45px;
  font-weight: 600;
  transition: 0.5s;
  display: inline-block;
}

.hero-section .buttons a:not(:last-child) {
  margin-right: 15px;
}

.buttons .join {
  font-size: 17px;
  font-weight: 600;
  border: 2px solid #F24964;
  background-color: #F24964;
}
.buttons .join:hover{
  background: transparent;
  border: 2px solid #fff;
}

.hero-section .buttons .learn {
  font-size: 17px;
  font-weight: 600;
  border: 2px solid #fff;
  border-radius: 45px;
}

.hero-section .buttons .learn:hover {
  background-color: #F24964;
  border: 2px solid #F24964;
}

/* Hamburger menu styles */
#menu-toggle {
  display: none;
}

#hamburger-btn {
  font-size: 1.8rem;
  color: #fff;
  cursor: pointer;
  display: none;
  order: 1;
}

@media screen and (max-width: 1023px) {
  body{
    padding: 150px 0 100px 0;
  }
  .navbar .logo a {
    font-size: 30px;
  }

  .links {
    position: fixed;
    left: -100%;
    top: 75px;
    width: 100%;
    height: 100vh;
    padding-top: 50px;
    background: #175d69;
    flex-direction: column;
    transition: 0.3s ease;
  }

  .navbar #menu-toggle:checked ~ .links {
    left: 0;
  }

  .navbar #hamburger-btn {
    display: block;
  }

  .header .button {
    display: none;
  }
  .hero-section{
    min-height: 100vh;
    display: flex;
    align-items: center;
    justify-content: center;
    flex-direction: column;
  }

  .hero-section .hero {
    max-width: 100%;
    color: #fff;
    text-align: center;
  }
  .hero p{
    font-size: 16px;
    line-height: 26px;
    width: 100%;
  }
  .hero h2{
    font-size: 30px;
  }
  .hero-section .img img {
    width: 300px;
    padding-top: 50px;
  }

}
Conclusion
Creating a responsive homepage with HTML and CSS is straightforward but essential for providing a great user experience across devices. As you expand your homepage, consider incorporating more advanced features like animations and interactive elements. With the above guide, you have a solid foundation to build a visually appealing and responsive website homepage that aligns with SEO best practices.
FAQs
What is a responsive website design?
Responsive website design adapts a website’s layout and elements to different screen sizes, ensuring it looks and functions well on desktops, tablets, and mobile devices. This approach enhances user experience and supports SEO.
Why is responsive design important?
Responsive design improves user experience by making websites accessible and easy to use across devices. It’s also a ranking factor for search engines like Google, which prioritize mobile-friendly websites in search results.
What are the basic steps to create a responsive homepage?
To create a responsive homepage, start with a basic HTML structure, apply CSS for styling, and use media queries to adjust the layout for different screen sizes. A mobile-first approach is recommended for optimal performance.
What is a mobile-first design approach?
Mobile-first design means starting the design process with styles optimized for small screens, like smartphones. As screen size increases, additional styling and layout adjustments are added to enhance the experience on larger devices.
How can I make images responsive?
To make images responsive, set the image’s width to 100% and height to auto in CSS. This allows the image to scale proportionally based on the screen size, ensuring it fits within its container.
What are media queries, and how do they work?
Media queries are CSS rules that apply styles based on the screen’s width, height, or other characteristics. They allow you to set specific layouts and styles for different screen sizes, making your website responsive.
What is the difference between Flexbox and Grid in CSS?
Flexbox is a one-dimensional layout model ideal for arranging items in a single row or column, while CSS Grid is a two-dimensional layout model suitable for creating complex, grid-based layouts. Both are powerful tools for responsive design.
How do I create a responsive navigation menu?
To create a responsive navigation menu, use Flexbox or Grid to arrange menu items and media queries to adjust the layout on smaller screens. For mobile, consider a hamburger menu that toggles the navigation links on and off.
Share on Social Media
Related Articles
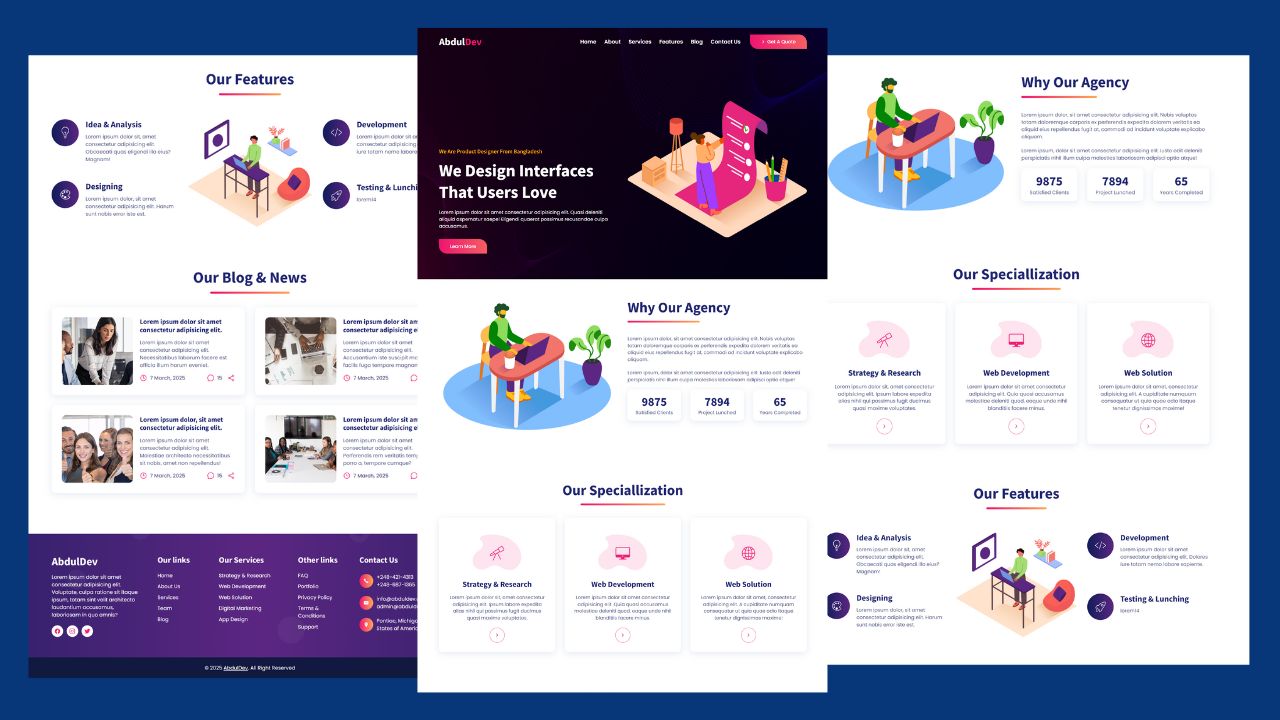
How to Design Agency Website Using HTML, CSS, and JavaScript
Learn how to build a stunning, responsive design agency website using HTML, CSS, and JavaScript. This beginner-friendly guide covers planning,
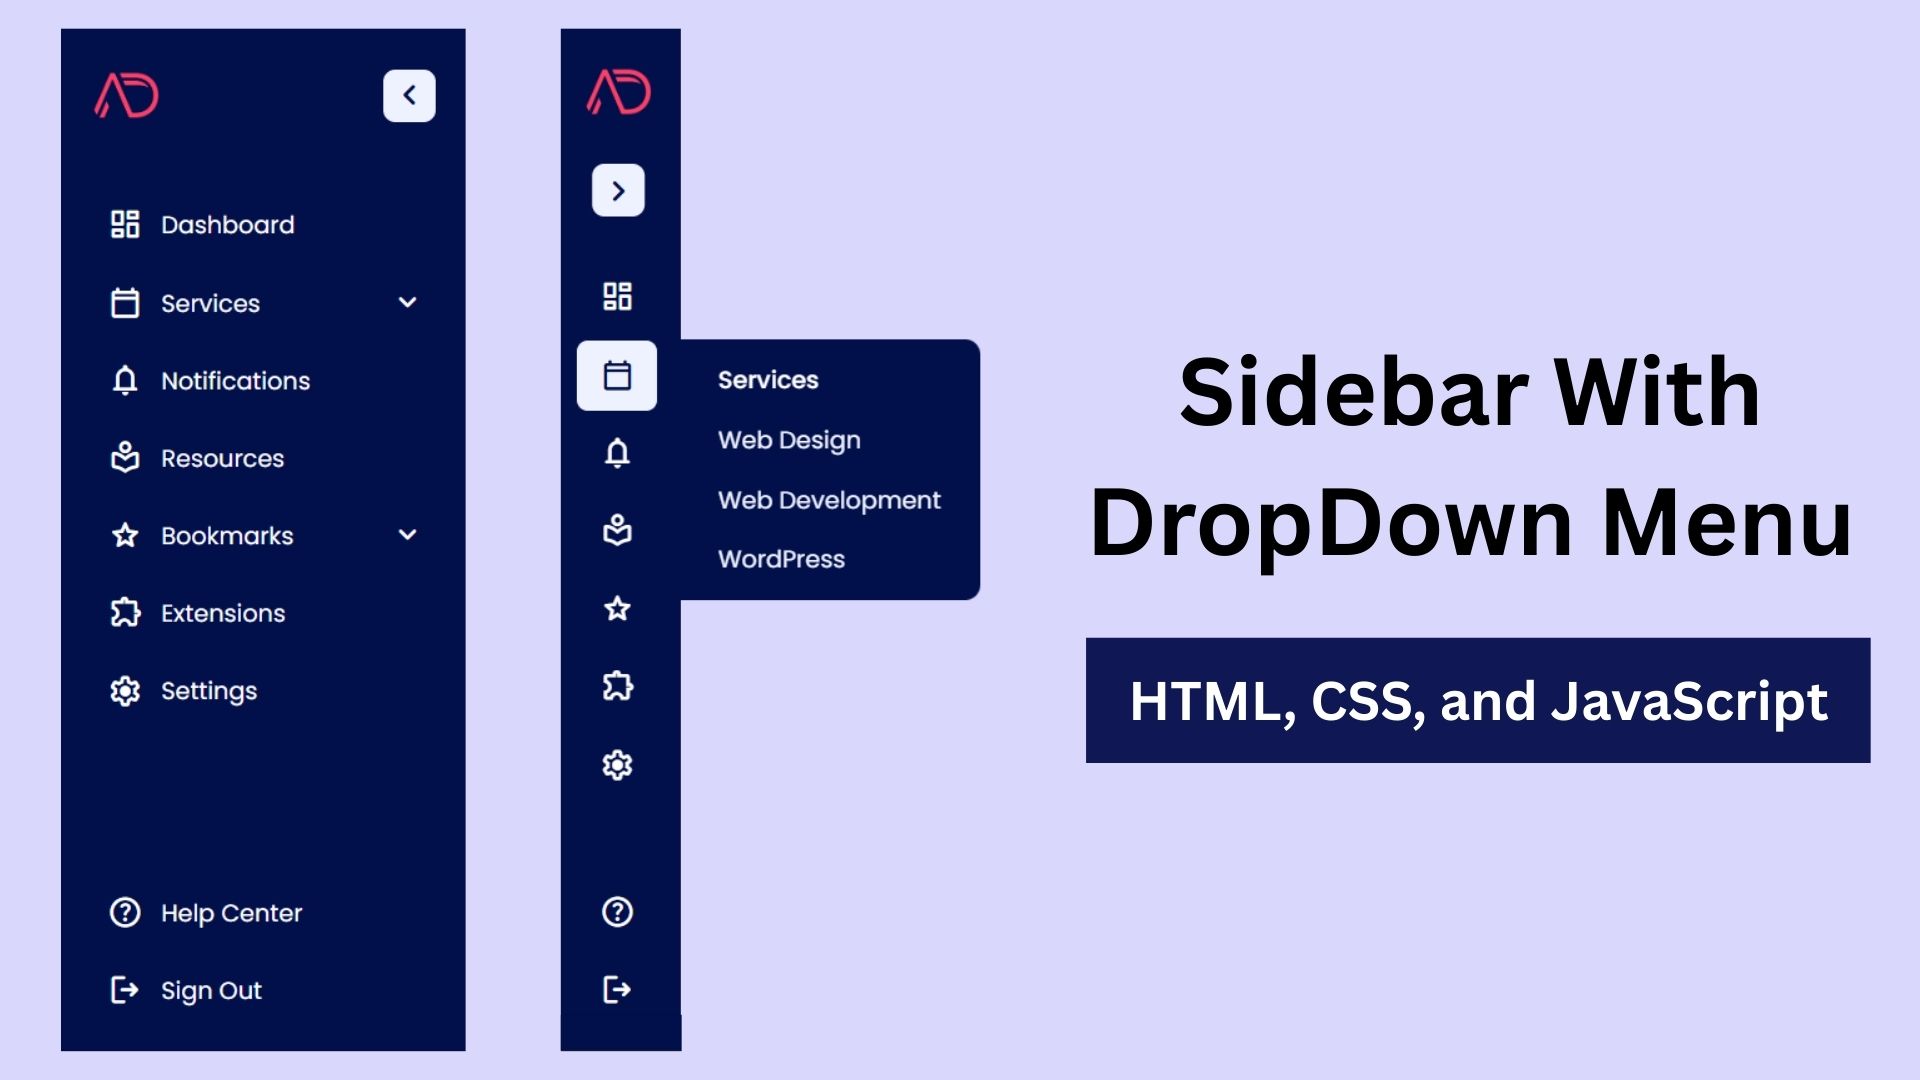
Build a Fully Responsive Sidebar with Dropdown Menu – HTML, CSS & JS
Learn how to build a fully responsive sidebar with dropdown menus using HTML, CSS, and JavaScript. Step-by-step guide with code
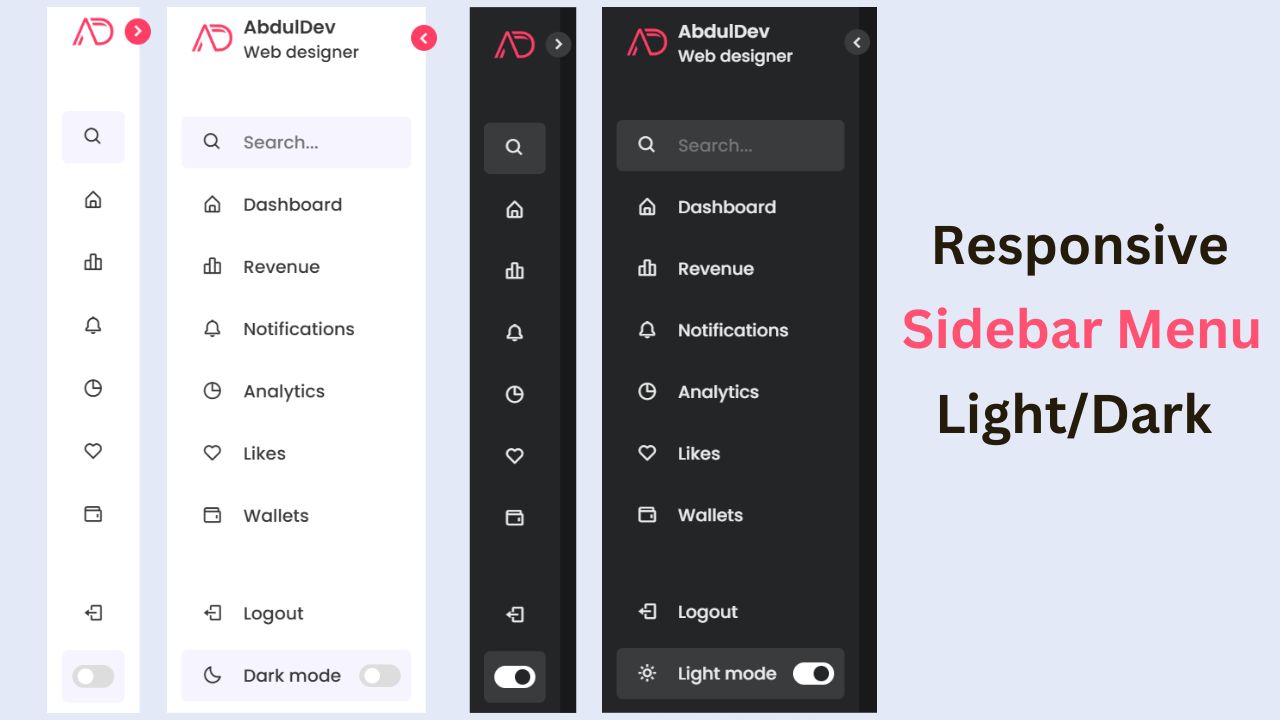
Responsive Sidebar Menu in HTML, CSS & JS | Light/Dark Mode
Learn how to create a modern responsive sidebar menu with a light and dark theme switcher using HTML, CSS, and

